Press-On Nails have revolutionized the beauty industry, and if you are looking to achieve a professional manicure at home, learning How to Use Olive and June Press On Nails Like a Pro is the ultimate game-changer. Olive and June kits are renowned for being beginner-friendly, stylish, and damage-free when applied correctly. However, to make them truly last and look like a high-end salon service, you need to master the specific techniques of application.
In this comprehensive guide on How to Use Olive and June Press On Nails Like a Pro, we will dive deep into the preparation, application, and maintenance strategies that ensure your manicure stays flawless for up to two weeks. Whether you are a total novice or a seasoned DIY enthusiast, this Olive and June nail tutorial will provide the expert insights you need.

The Benefits of Learning How to Use Olive and June Press On Nails Like a Pro
Before we jump into the step-by-step process, it is important to understand why this brand stands out. When you learn How to Use Olive and June Press On Nails Like a Pro, you are tapping into a system designed for longevity and aesthetics. Unlike traditional press-ons that feel chunky or pop off within hours, Olive and June offers a more customized experience.
Many beauty lovers swear by this brand for several key reasons: • Trendy designs and colors that mimic professional gel manicures. • A massive range of 42 nail sizes, ensuring a perfect fit for every finger. • Beginner-friendly kits that include every tool you could possibly need. • A non-damaging glue formula that prioritizes the health of your natural nails. • Speed and convenience, allowing for a full transformation in under 20 minutes.
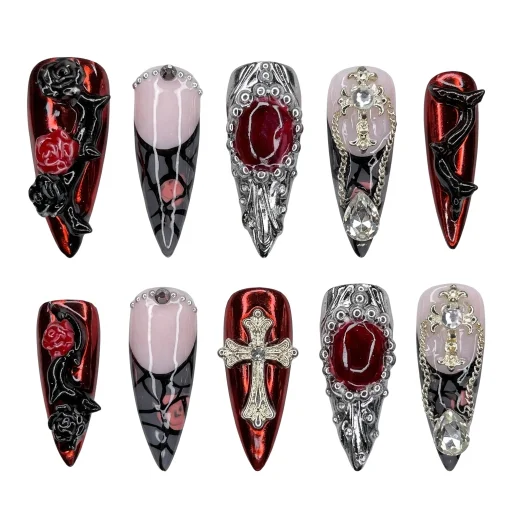
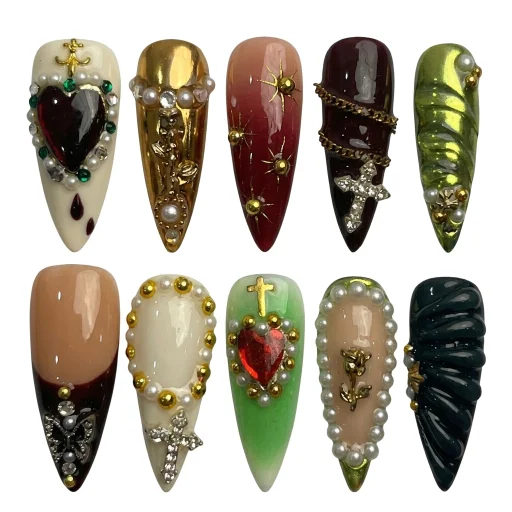
What Is Included in Your Olive and June Press-On Kit?
To follow our guide on How to Use Olive and June Press On Nails Like a Pro, you first need to familiarize yourself with your tools. Every Olive and June kit is a mini salon in a box. It includes: • 42 press-on nails (offering 21 sizes per hand for a precision fit). • Gentle but powerful nail glue. • An alcohol prep pad to dehydrate the nail surface. • A dual-sided cuticle pusher. • A high-quality nail file and buffer. • Detailed instructions for quick reference.
If you want to go the extra mile and truly learn How to Use Olive and June Press On Nails Like a Pro, consider these optional extras: • Nail polish remover to ensure a 100% oil-free surface. • Top coat to add an extra layer of protection and shine.

Step-by-Step Tutorial: How to Use Olive and June Press On Nails Like a Pro
The secret to a long-lasting manicure isn't just the glue; it's the preparation. Follow these steps meticulously to master How to Use Olive and June Press On Nails Like a Pro.
Step 1: Thorough Prep of Your Natural Nails
Prep is 90% of the work. If you skip this, your nails will pop off. First, remove any old polish and wash your hands with grease-cutting dish soap. Use the wooden stick to gently push back your cuticles. This creates more surface area for the press-on to grip. Lightly buff the surface of your natural nails to remove the shine; this creates "grit" for the glue to hold onto. Finally, wipe each nail with the alcohol pad. Pro Tip: If you have naturally oily nail beds, a double-wipe with nail polish remover is a key trick in How to Use Olive and June Press On Nails Like a Pro.
Step 2: Finding Your Perfect Size Match
One of the biggest mistakes beginners make is choosing nails that are too large. When figuring out How to Use Olive and June Press On Nails Like a Pro, always match the press-on to the width of your nail bed. If you are between sizes, go with the smaller size. A smaller nail looks more natural and is less likely to lift at the edges. Lay out all ten nails in order before you touch the glue.
Step 3: The Glue Application Technique
Apply a thin, even layer of glue to your natural nail. For an extra-strong hold—a staple technique for those who want to know How to Use Olive and June Press On Nails Like a Pro—add a small dot of glue to the back of the press-on nail as well. Align the nail just above the cuticle line, not on top of it. Press down firmly and hold for at least 30 to 60 seconds. Constant pressure prevents air bubbles, which are the leading cause of premature lifting.
Step 4: Final Shaping and Finishing Touches
Once the glue has set, you can file the edges to your preferred shape. To truly demonstrate How to Use Olive and June Press On Nails Like a Pro, wait at least one hour before exposing your hands to water or oils. This allows the bond to fully cure. Adding a clear top coat can also help seal the edges and prevent the design from scratching.

Expert Tips for Long-Lasting Wear
If you want your manicure to last 7 to 14 days, you must treat your nails with care. Here is the pro-level advice on How to Use Olive and June Press On Nails Like a Pro for maximum longevity: • Avoid water for the first 2 hours after application. This includes showering or doing dishes. • Always wear gloves when using cleaning chemicals or washing dishes. • Use your fingertips, not your nails, to open cans or boxes. • If you notice a corner lifting, apply a tiny drop of glue immediately to prevent snagging.
Common Mistakes to Avoid
Understanding How to Use Olive and June Press On Nails Like a Pro also means knowing what NOT to do. Many people fail because they skip the cuticle work. If the press-on is glued to the skin of the cuticle rather than the nail bed, it will lift as the nail grows. Additionally, using too much glue can cause a mess and prevent a flat seal. Finally, never pick at your nails. If one starts to come off, remove it properly rather than pulling, which strips layers off your natural nail.

How to Safely Remove Your Press-On Nails
A true SEO guide on How to Use Olive and June Press On Nails Like a Pro wouldn't be complete without a safe removal strategy. To protect your natural nails: • Soak your hands in warm, soapy water mixed with a bit of olive oil or cuticle oil for 15 minutes. • Gently use the cuticle stick to see if the edges are lifting. • Never force them off. If they are stubborn, soak for another 5-10 minutes. • Use a buffer to gently remove any remaining glue residue from your natural nails.
Can You Reuse Olive and June Press-On Nails?
Yes! Part of mastering How to Use Olive and June Press On Nails Like a Pro is learning how to preserve them. If you remove them gently using the soaking method rather than ripping them off, the nails should stay in great shape. Simply use a small file to buff away old glue from the underside of the press-on and store them in their original box for your next use.
Final Thoughts on Mastering the DIY Manicure
Learning How to Use Olive and June Press On Nails Like a Pro is a skill that saves time and money while keeping your hands looking aesthetic and polished. By following the preparation steps and application techniques outlined in this guide, you can achieve a flawless look every time. Practice makes perfect, so don't be discouraged if your first set doesn't last two weeks—keep refining your technique and you will be an expert in no time!